Setting the Needle to the Correct Position on the Norden Tie-Grabber
About This Video
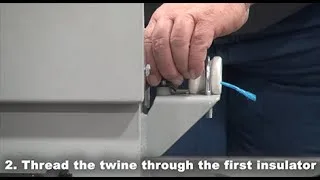
Let’s go over how to set your needle to the correct position. The needle will need to be adjusted if you notice that the twine is slipping and not tying through the knotter. • What we’re looking for is when the twine arm has come into the knotter. This will help us find if its in the correct position. • Let’s start by identifying the parts of the knotter. • The red tube is the needle. • When the twine arm is into the knotter, the needle slides next to the twine disc. The small opening is where the twine lays when the needle brings it into the knotter. • The further the needle goes in, the more space it comes away from the disc. That is okay, what we’re concerned about is the end of the needle so that it lays the twine in the twine disc opening space. • We want 1/16th to 1/8th clearance space between the needle and the disc. • You can adjust the needle on the arm. • To do so, loosen the Allen screws with a 3/16th Allen wrench slowly until you can move the needle to the left or right and up or down. • As you’re tightening the screws be careful both side of not move the needle that you just adjusted.
(877) 296-5851
[email protected]


