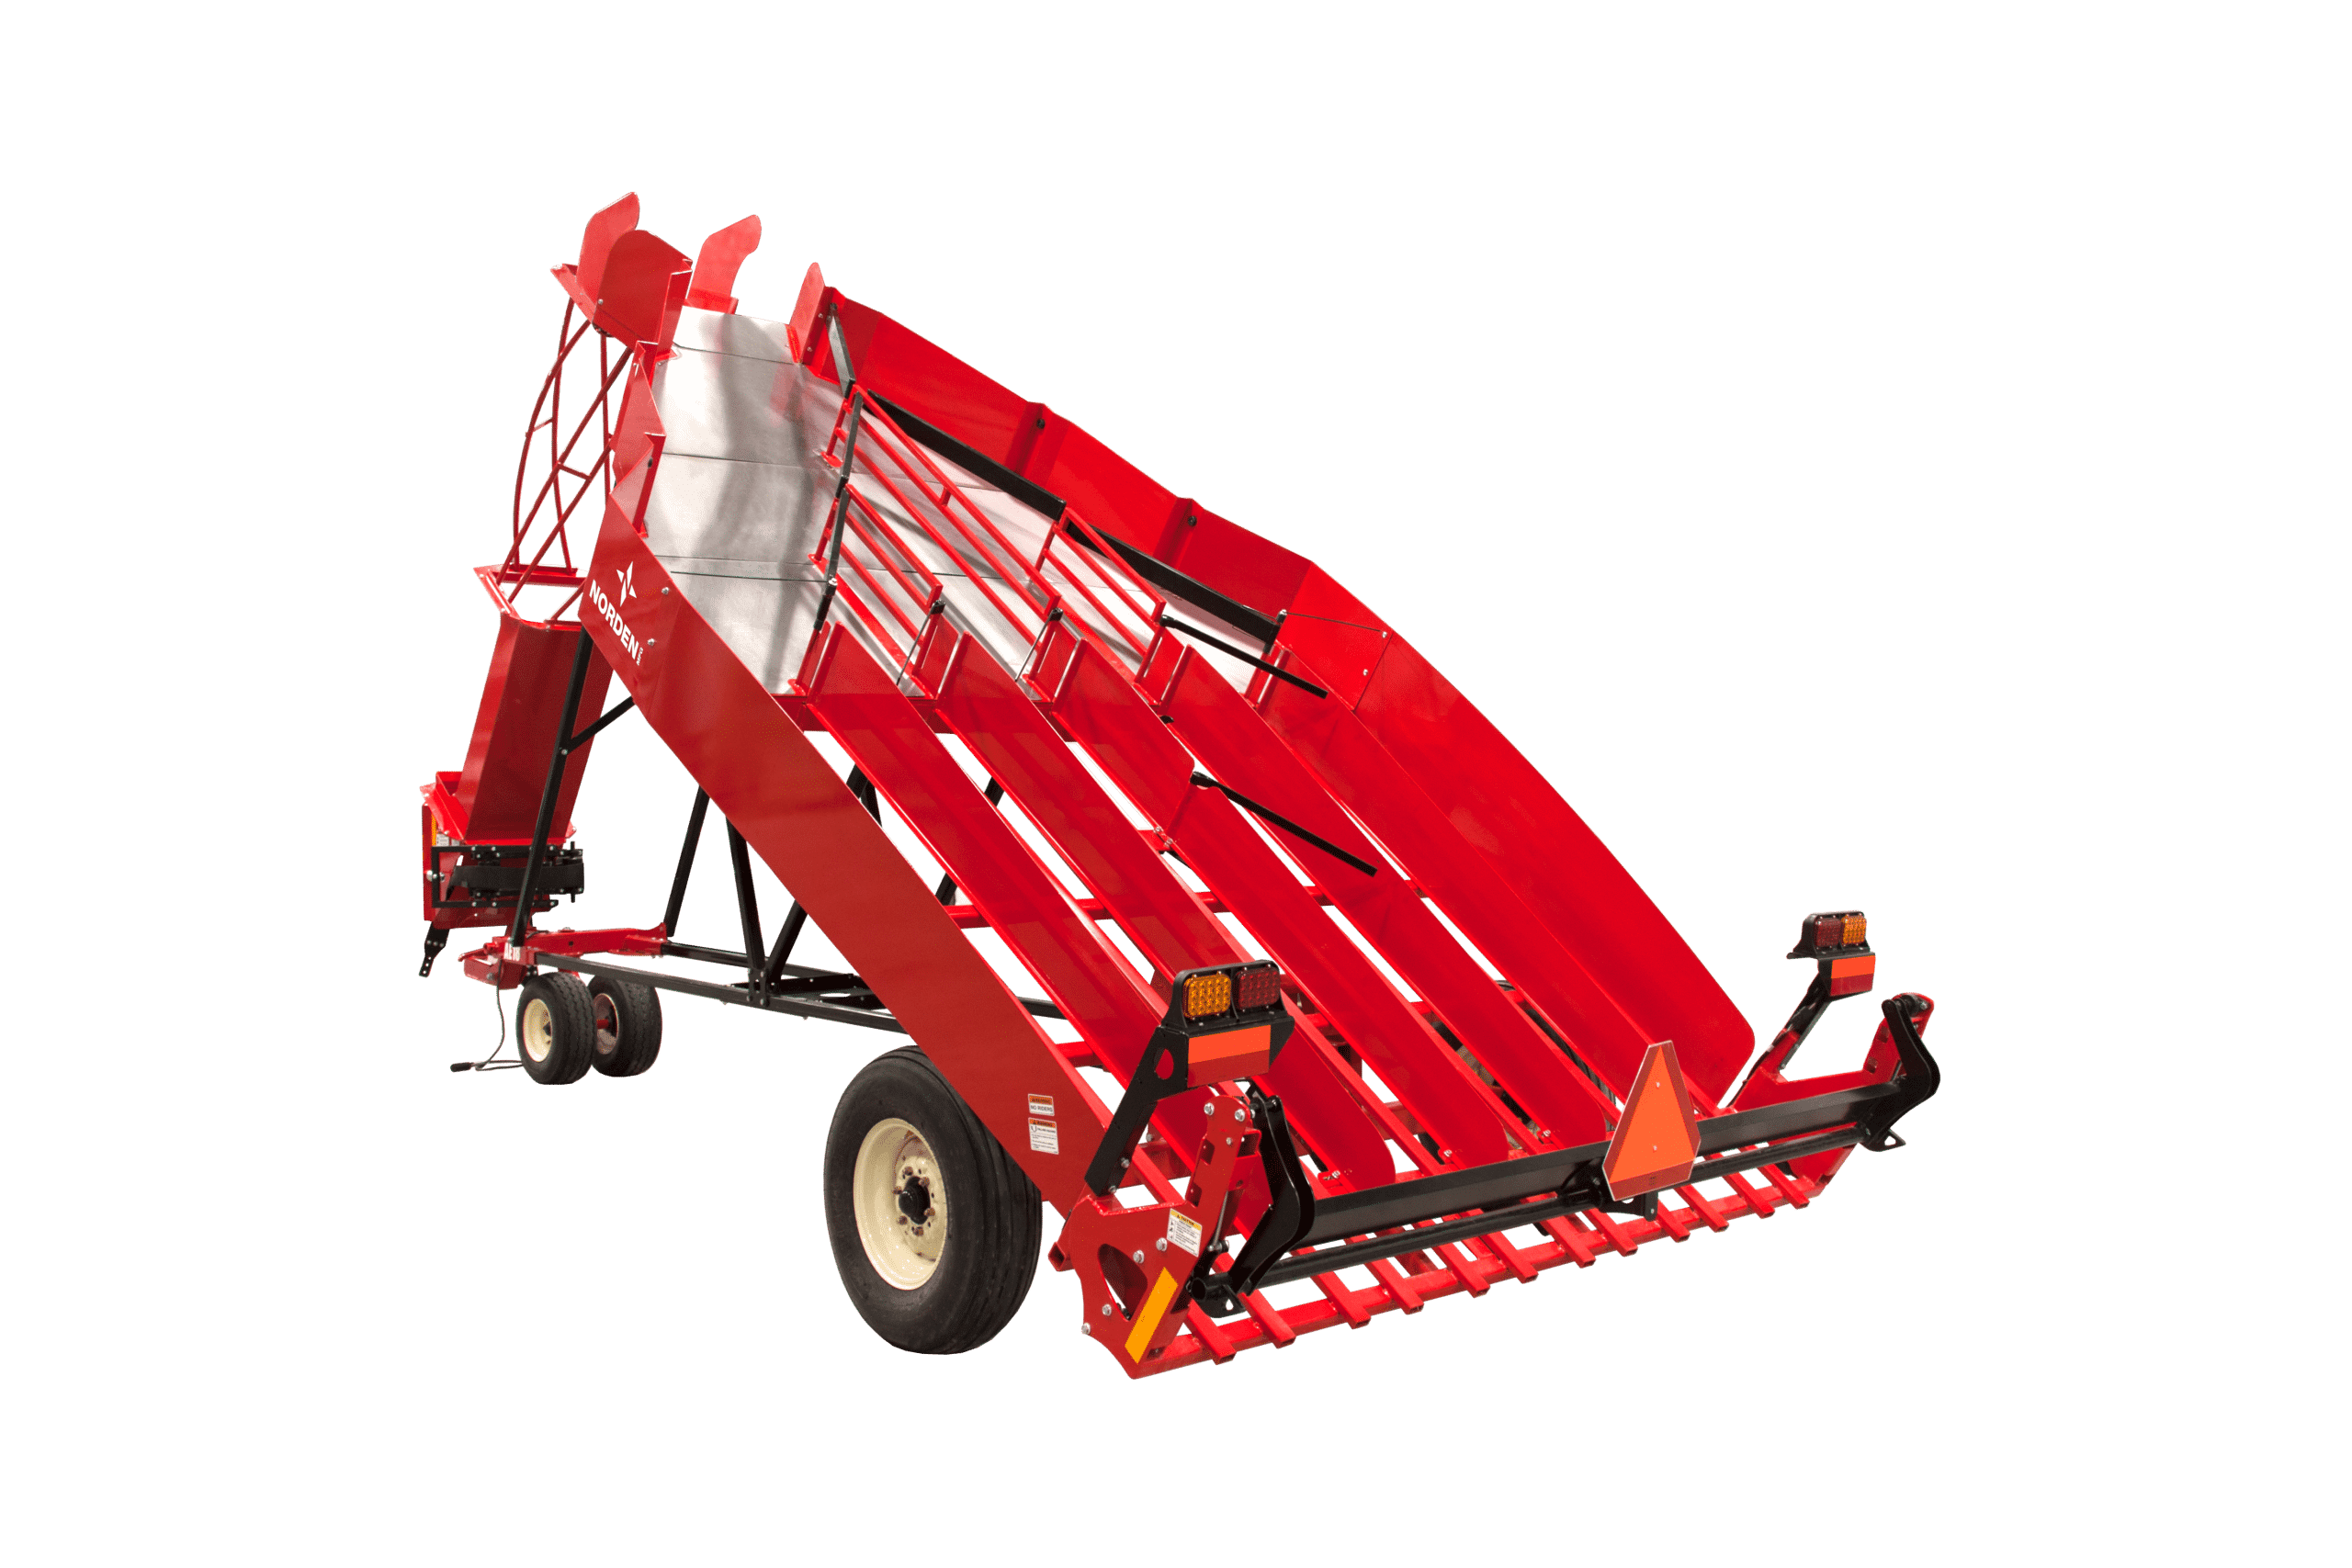
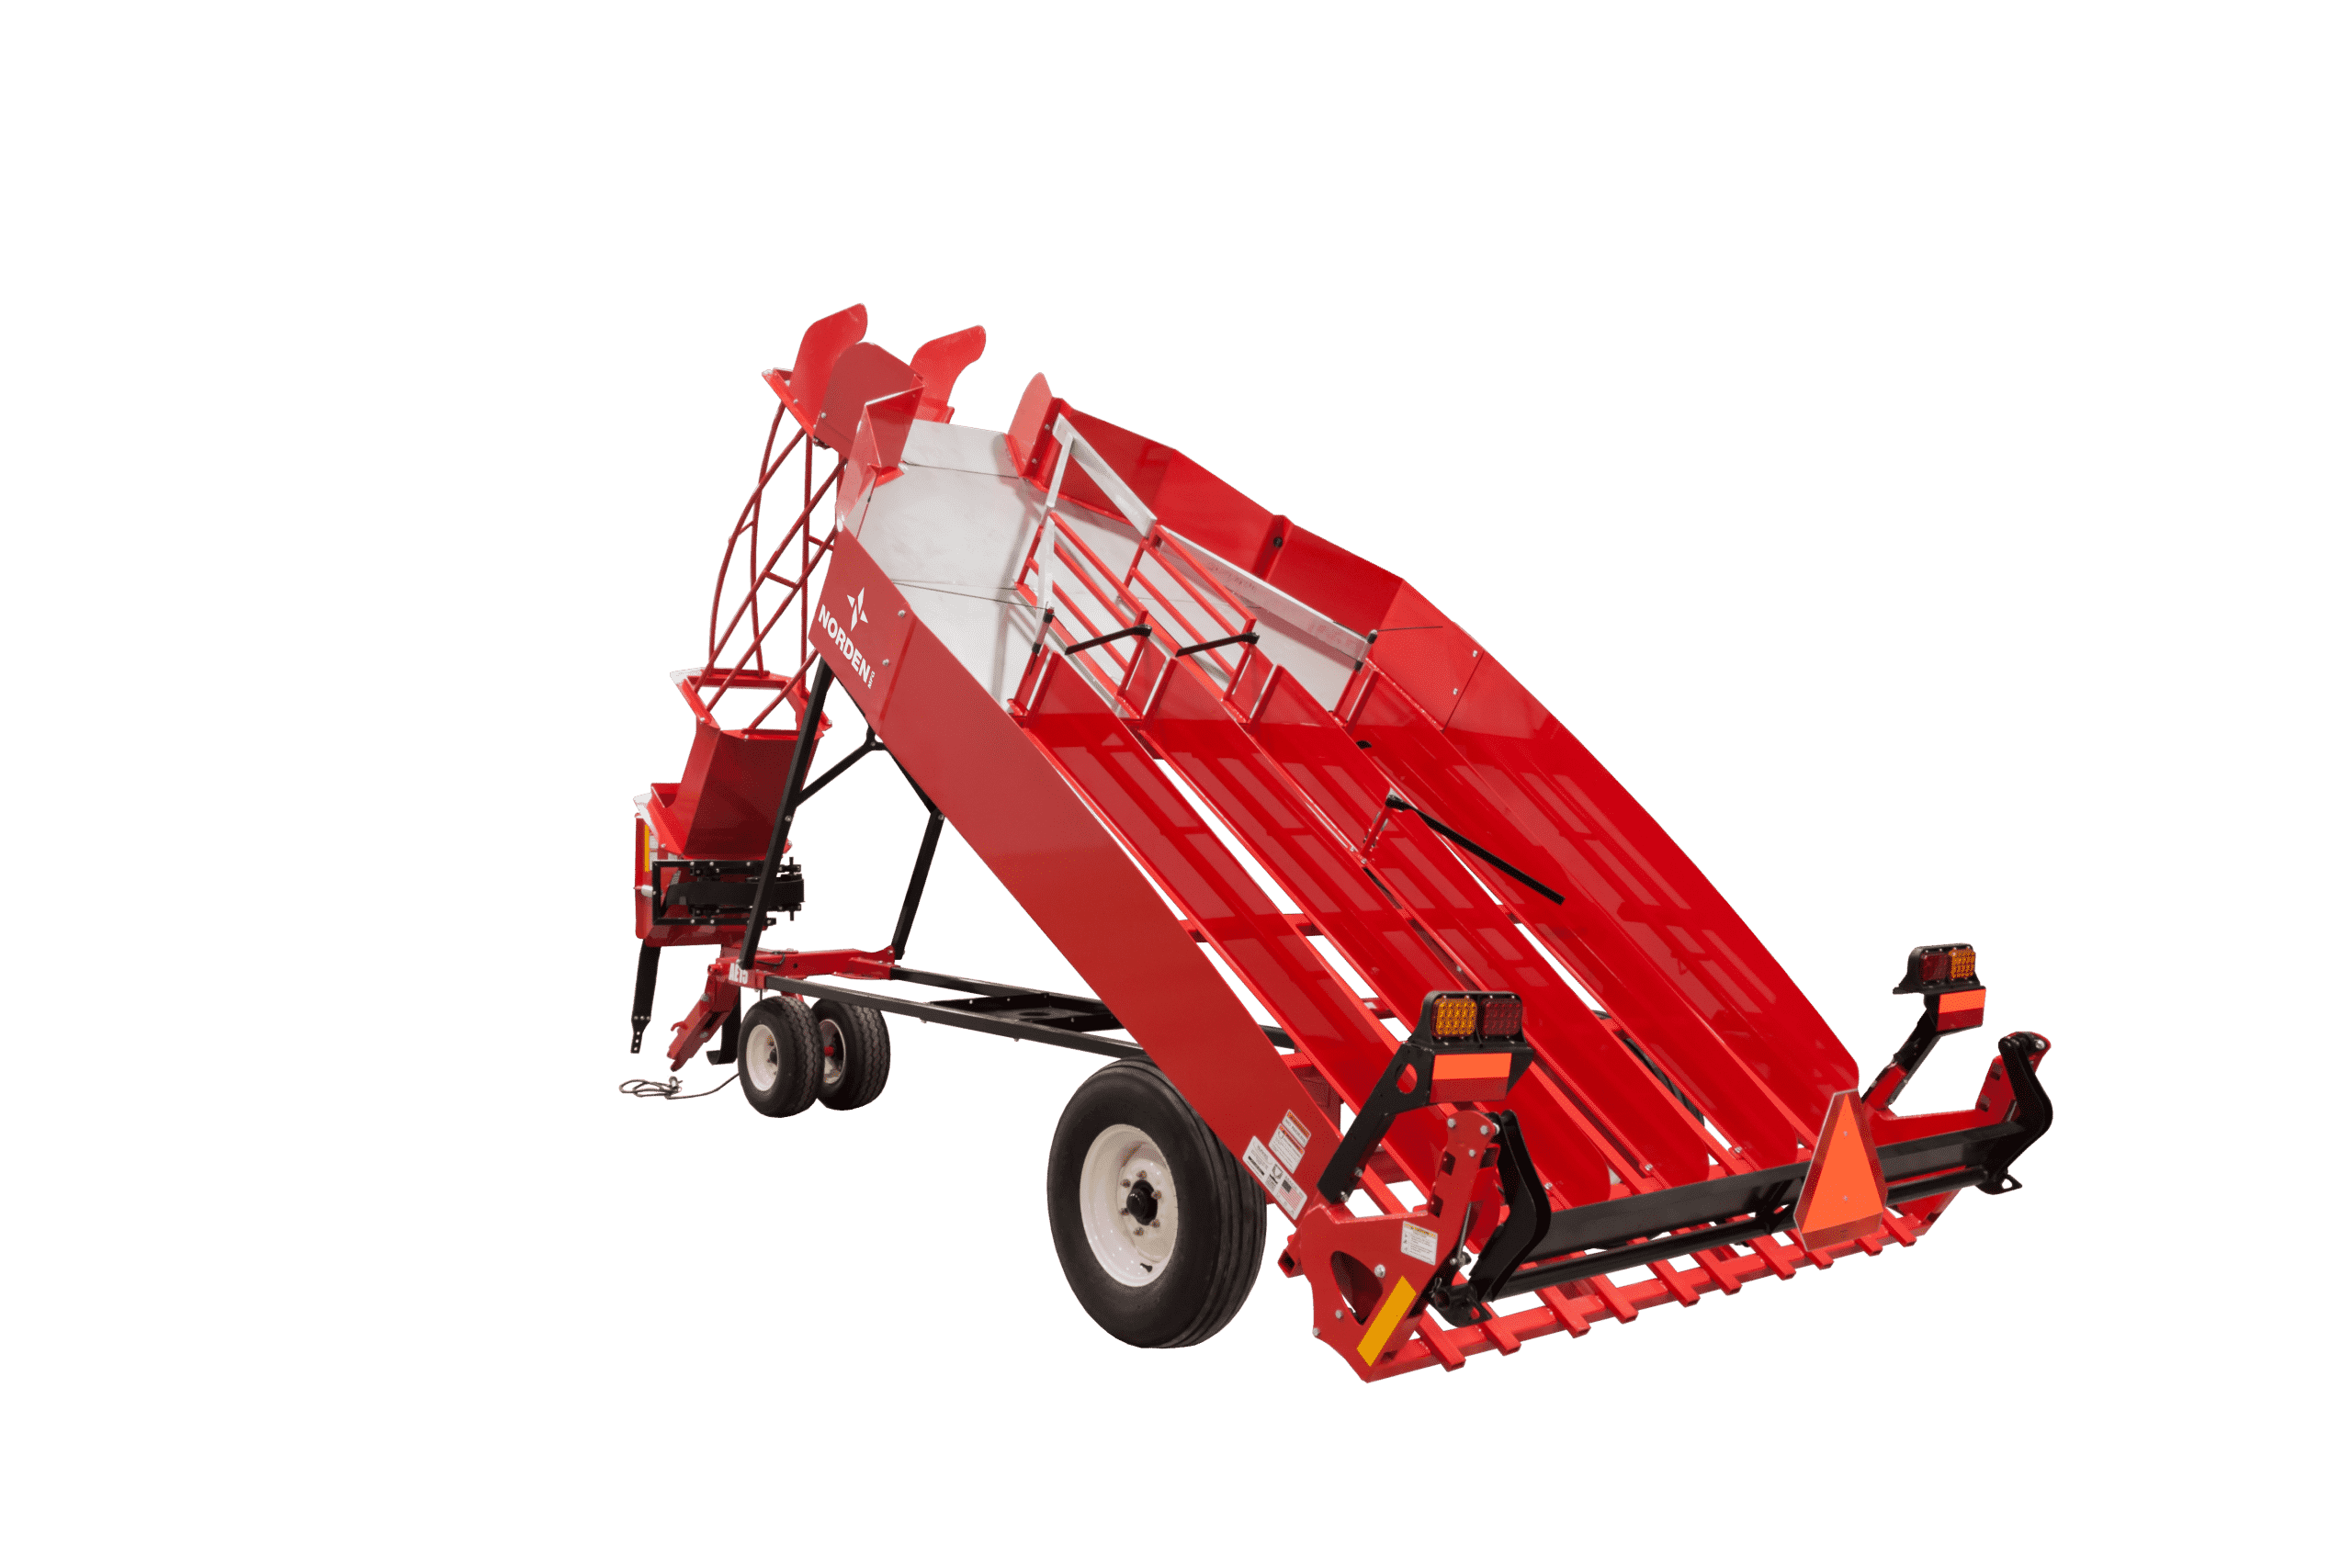
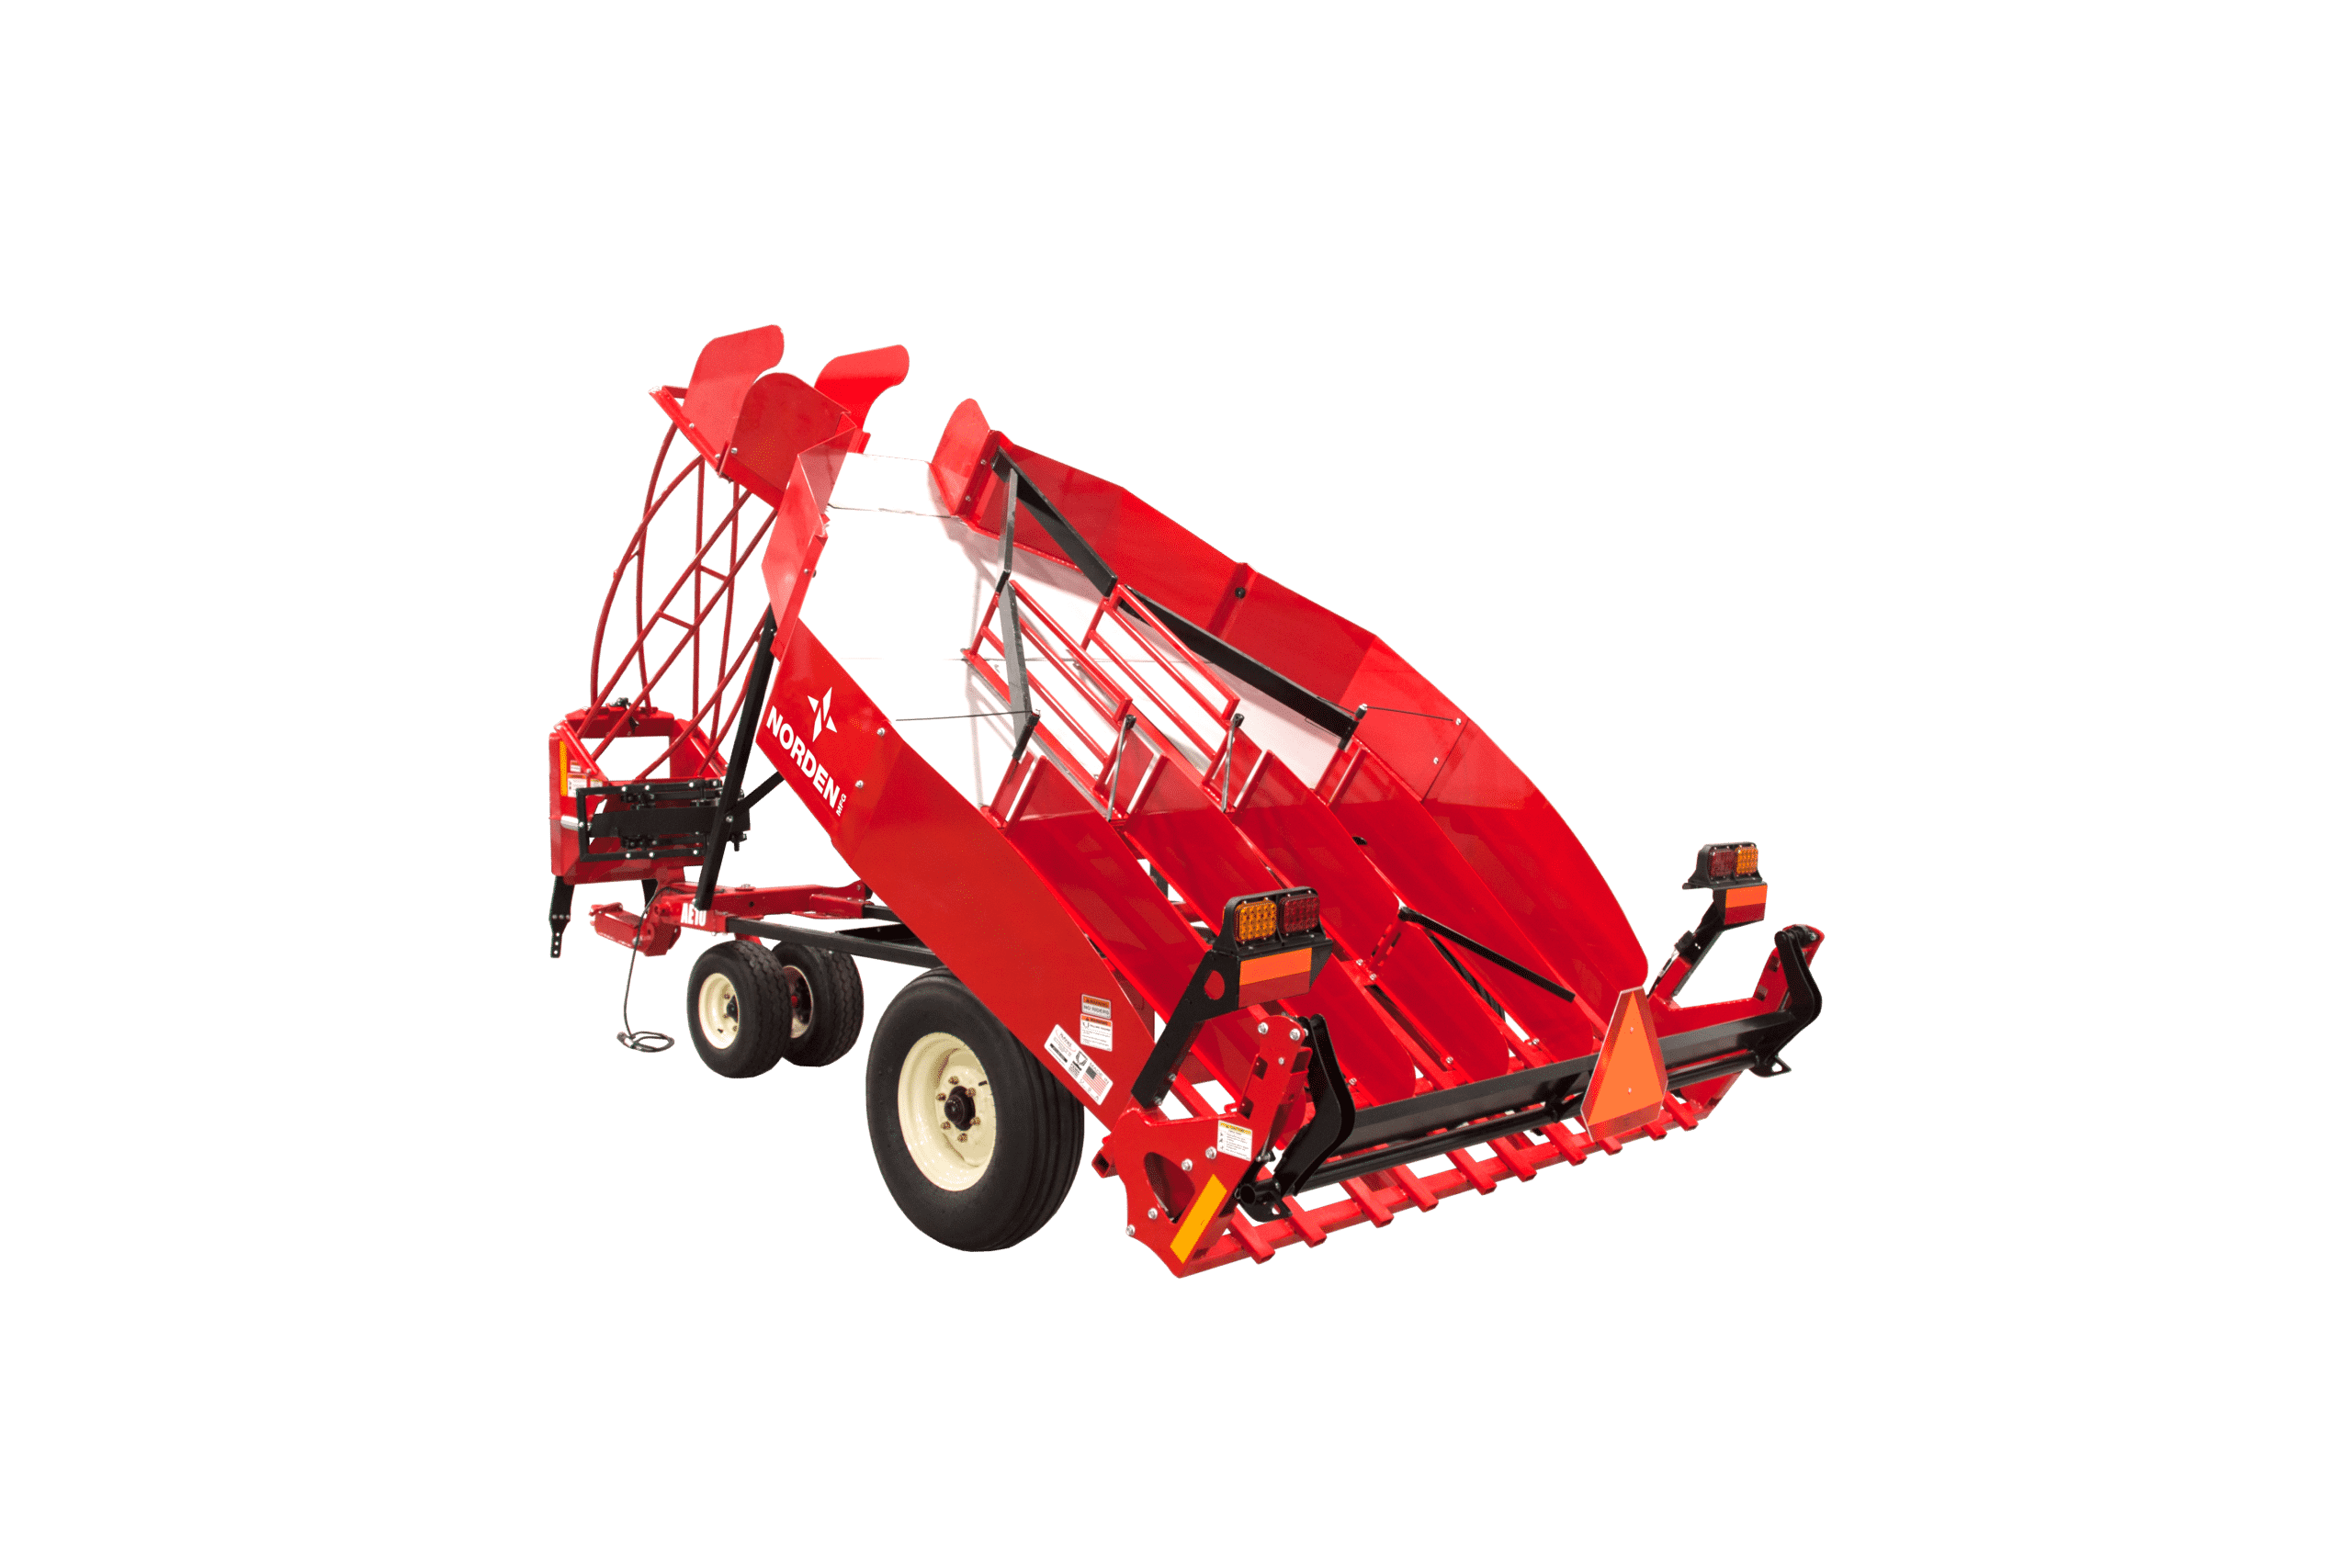
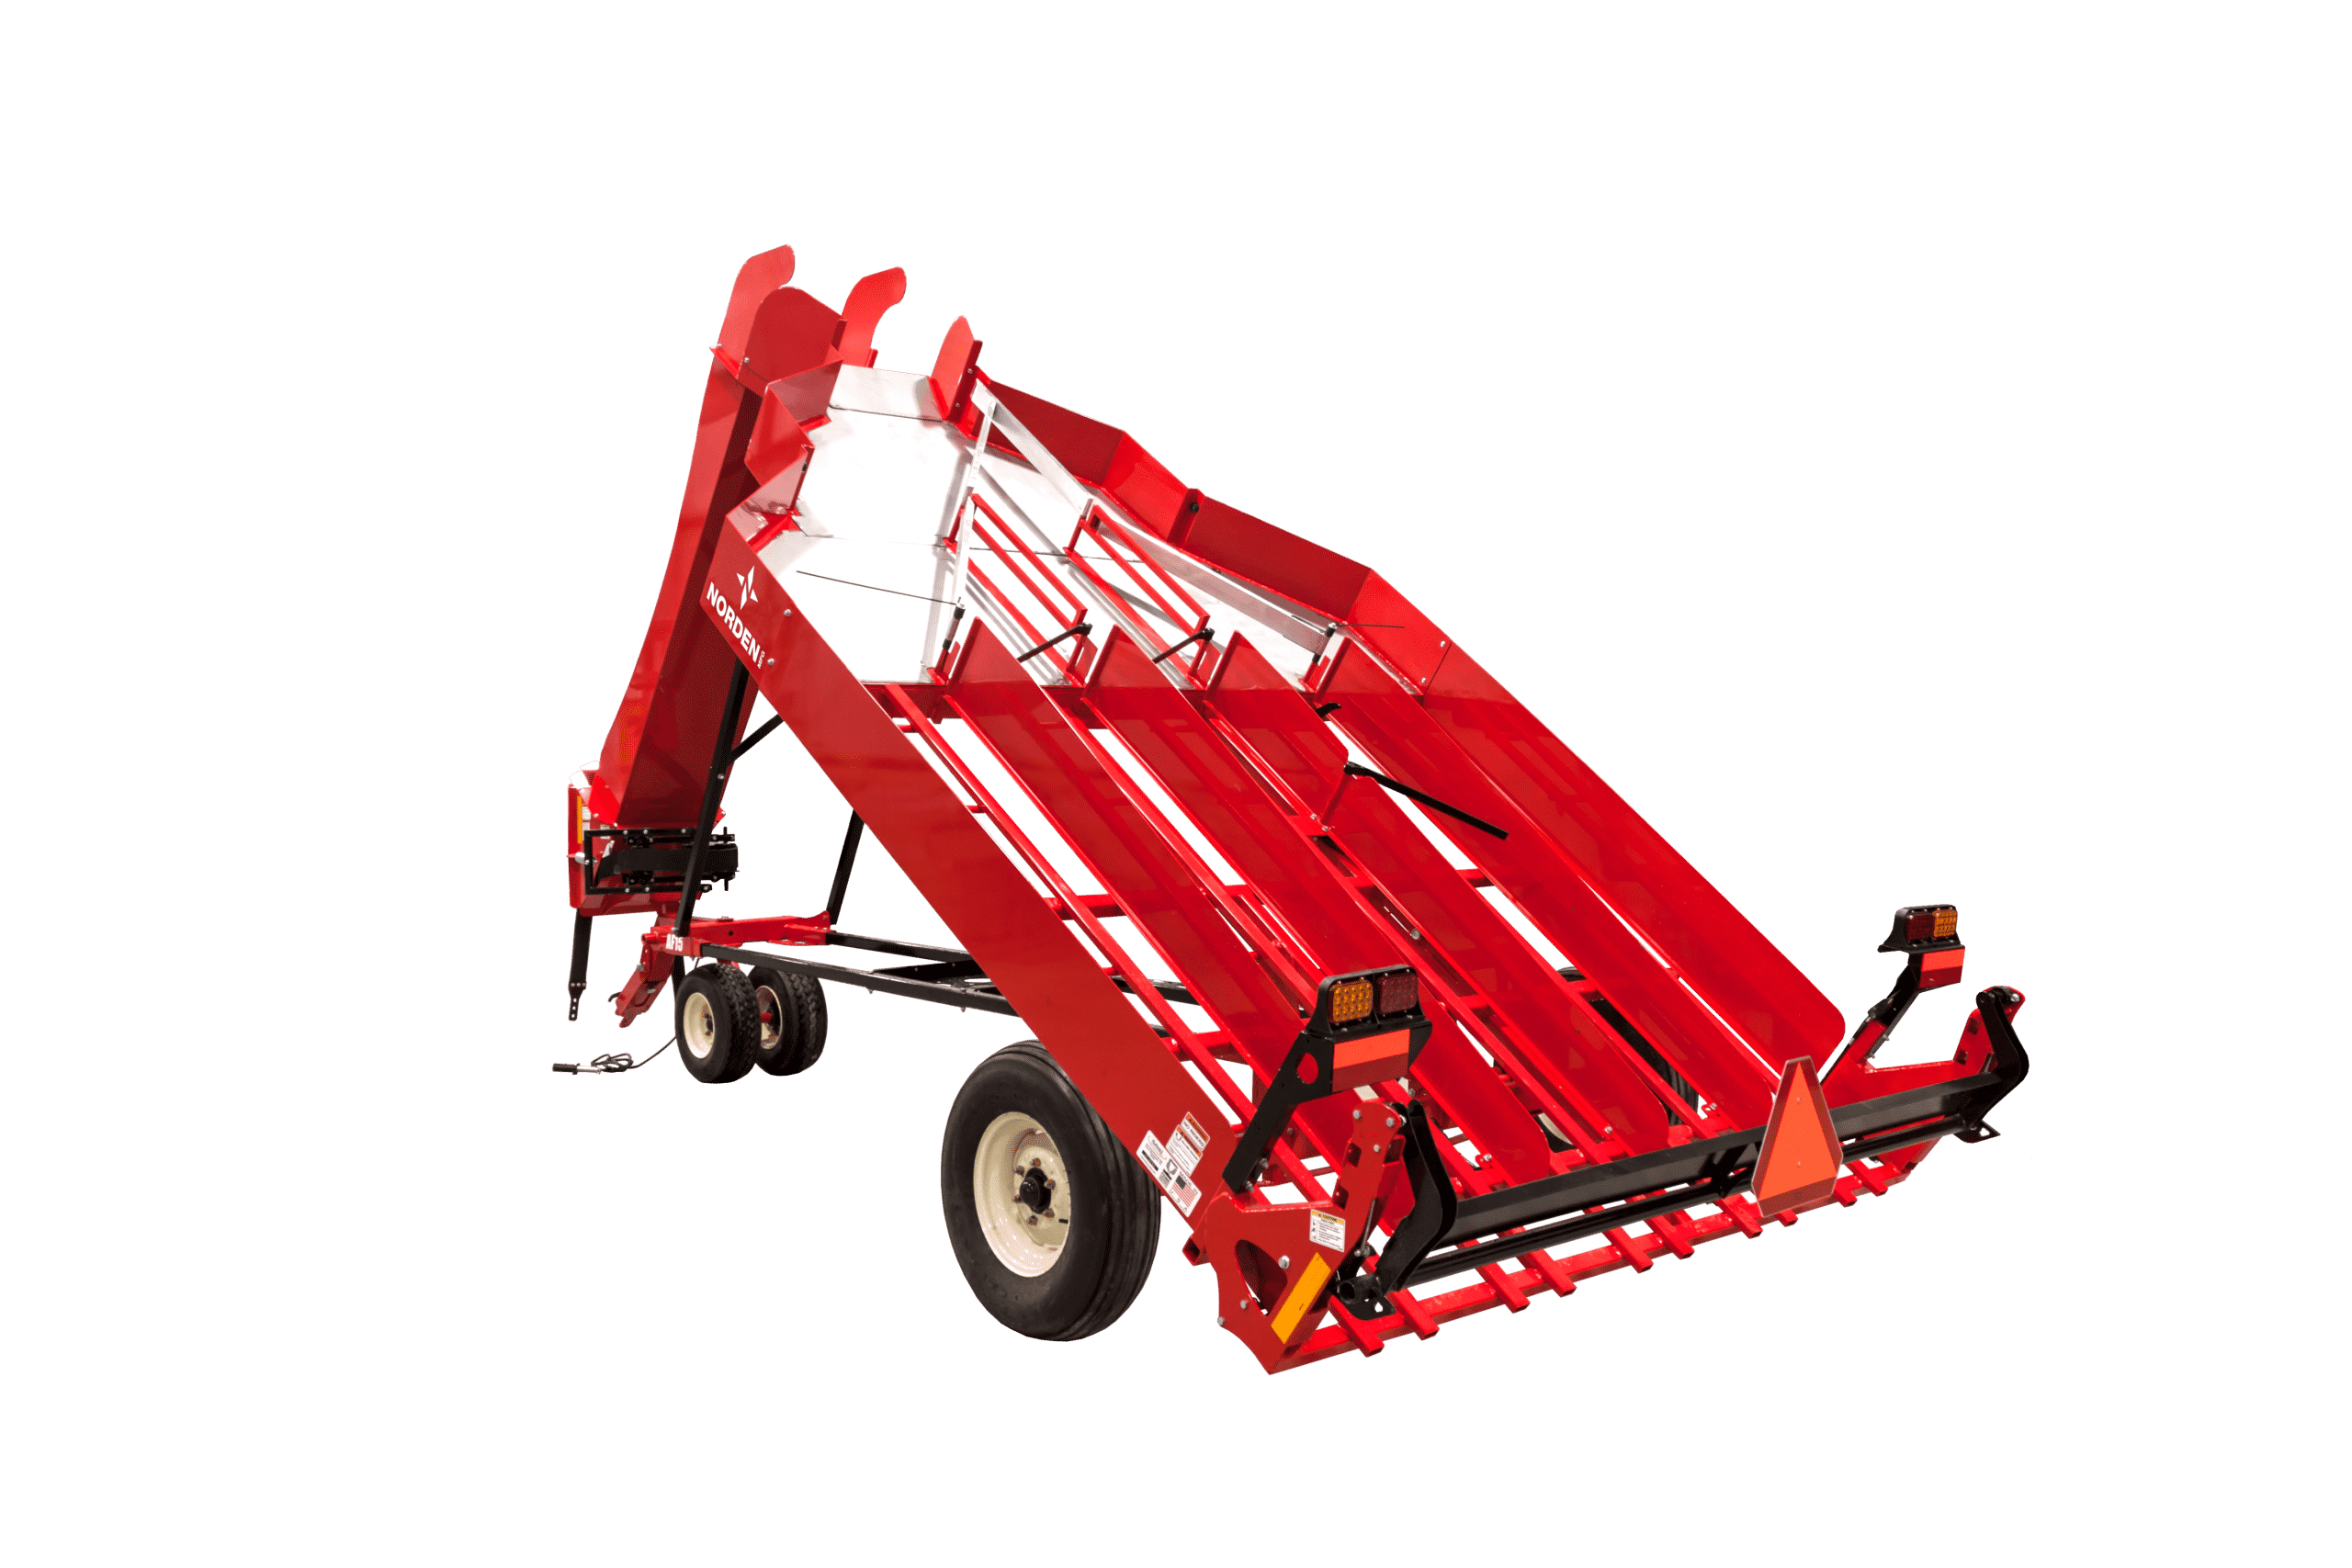
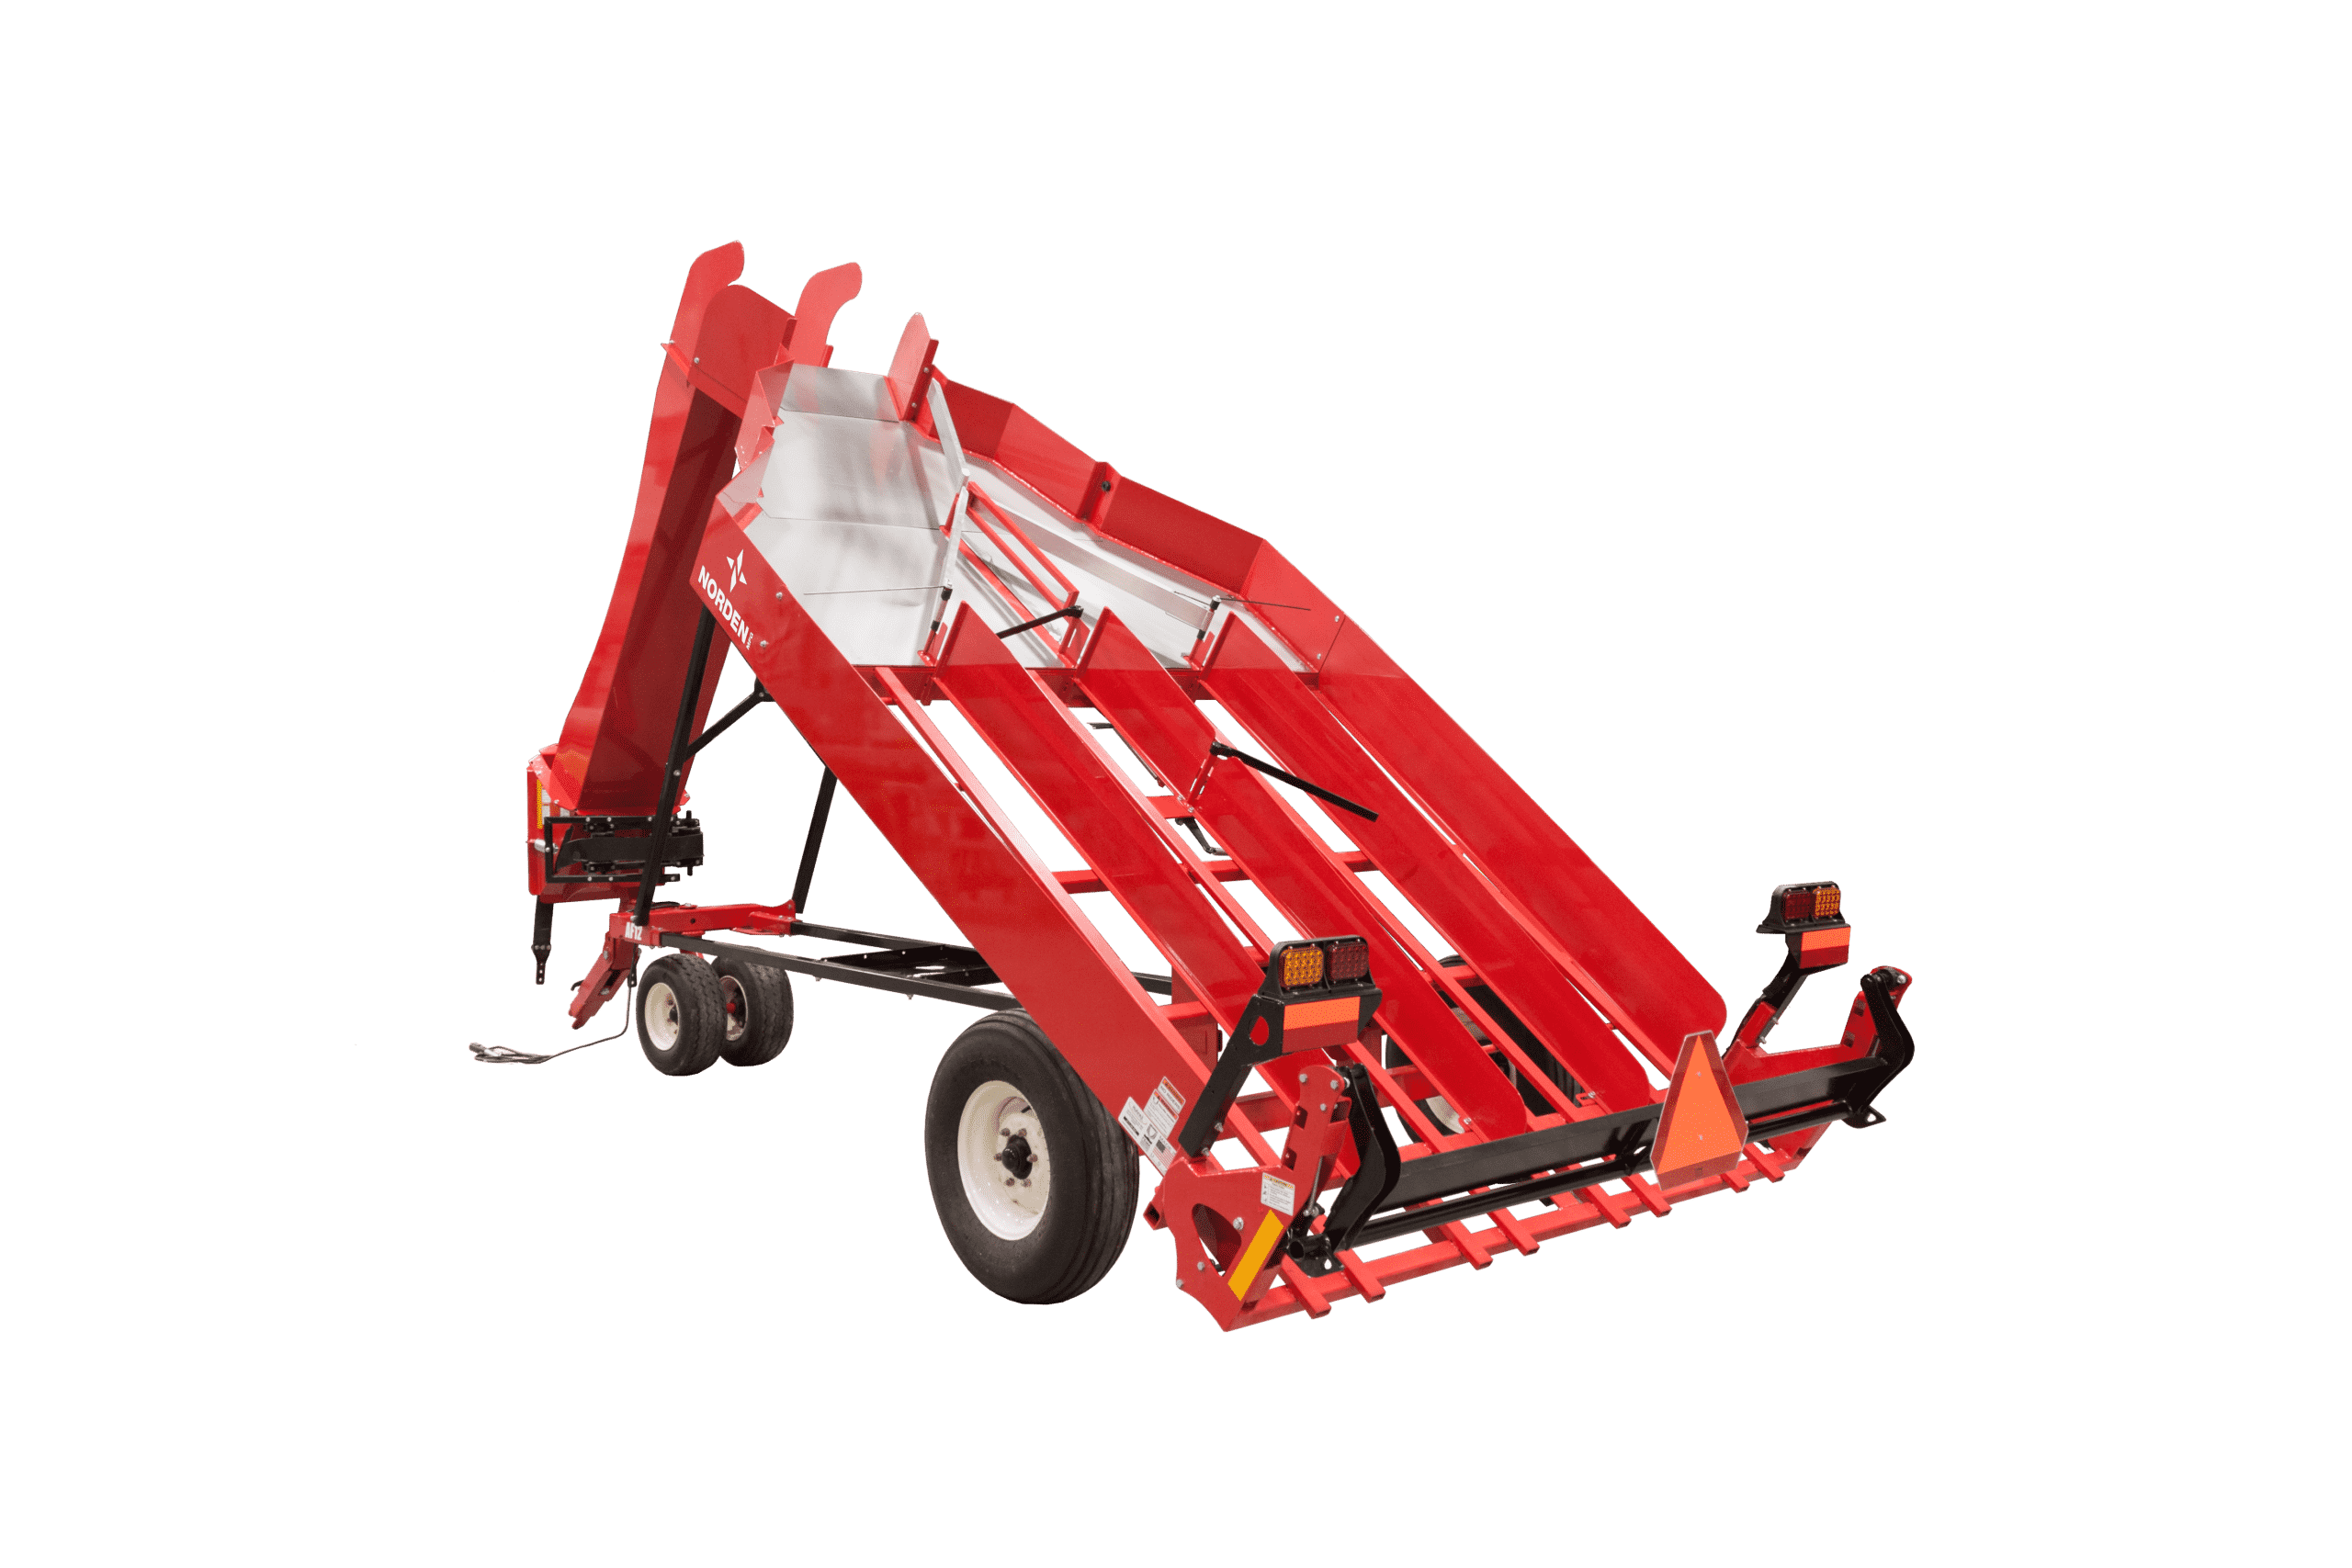
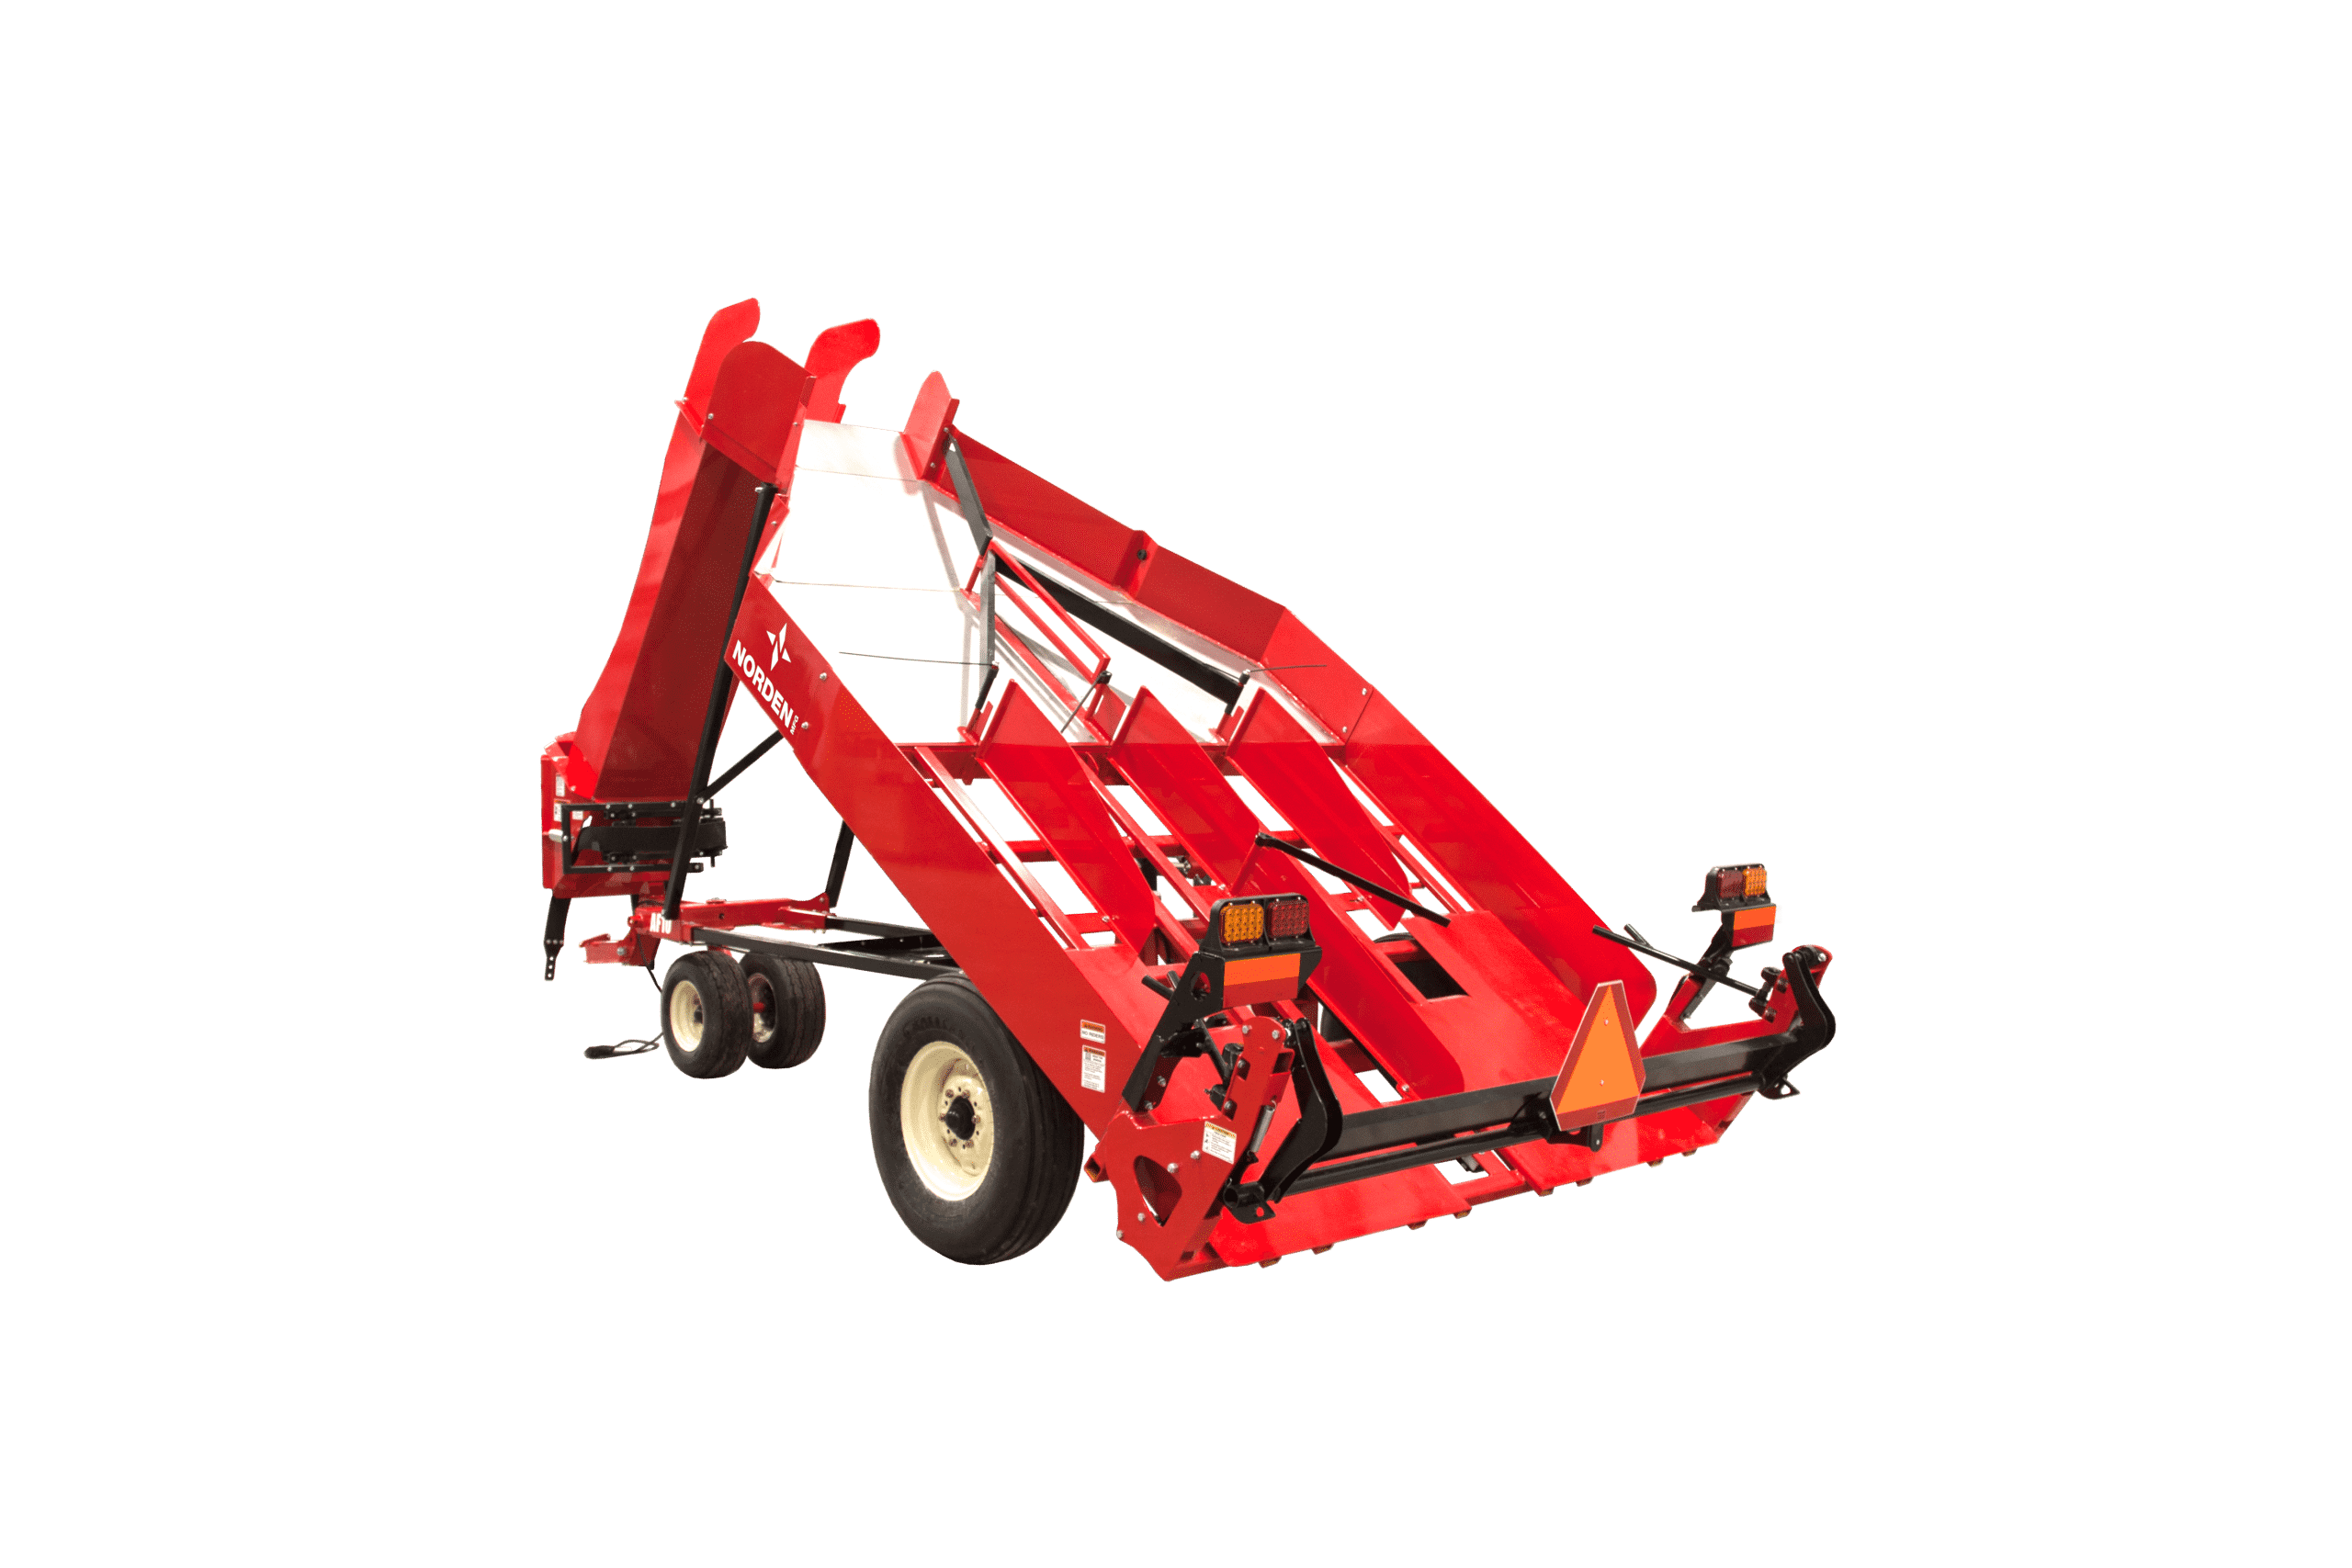
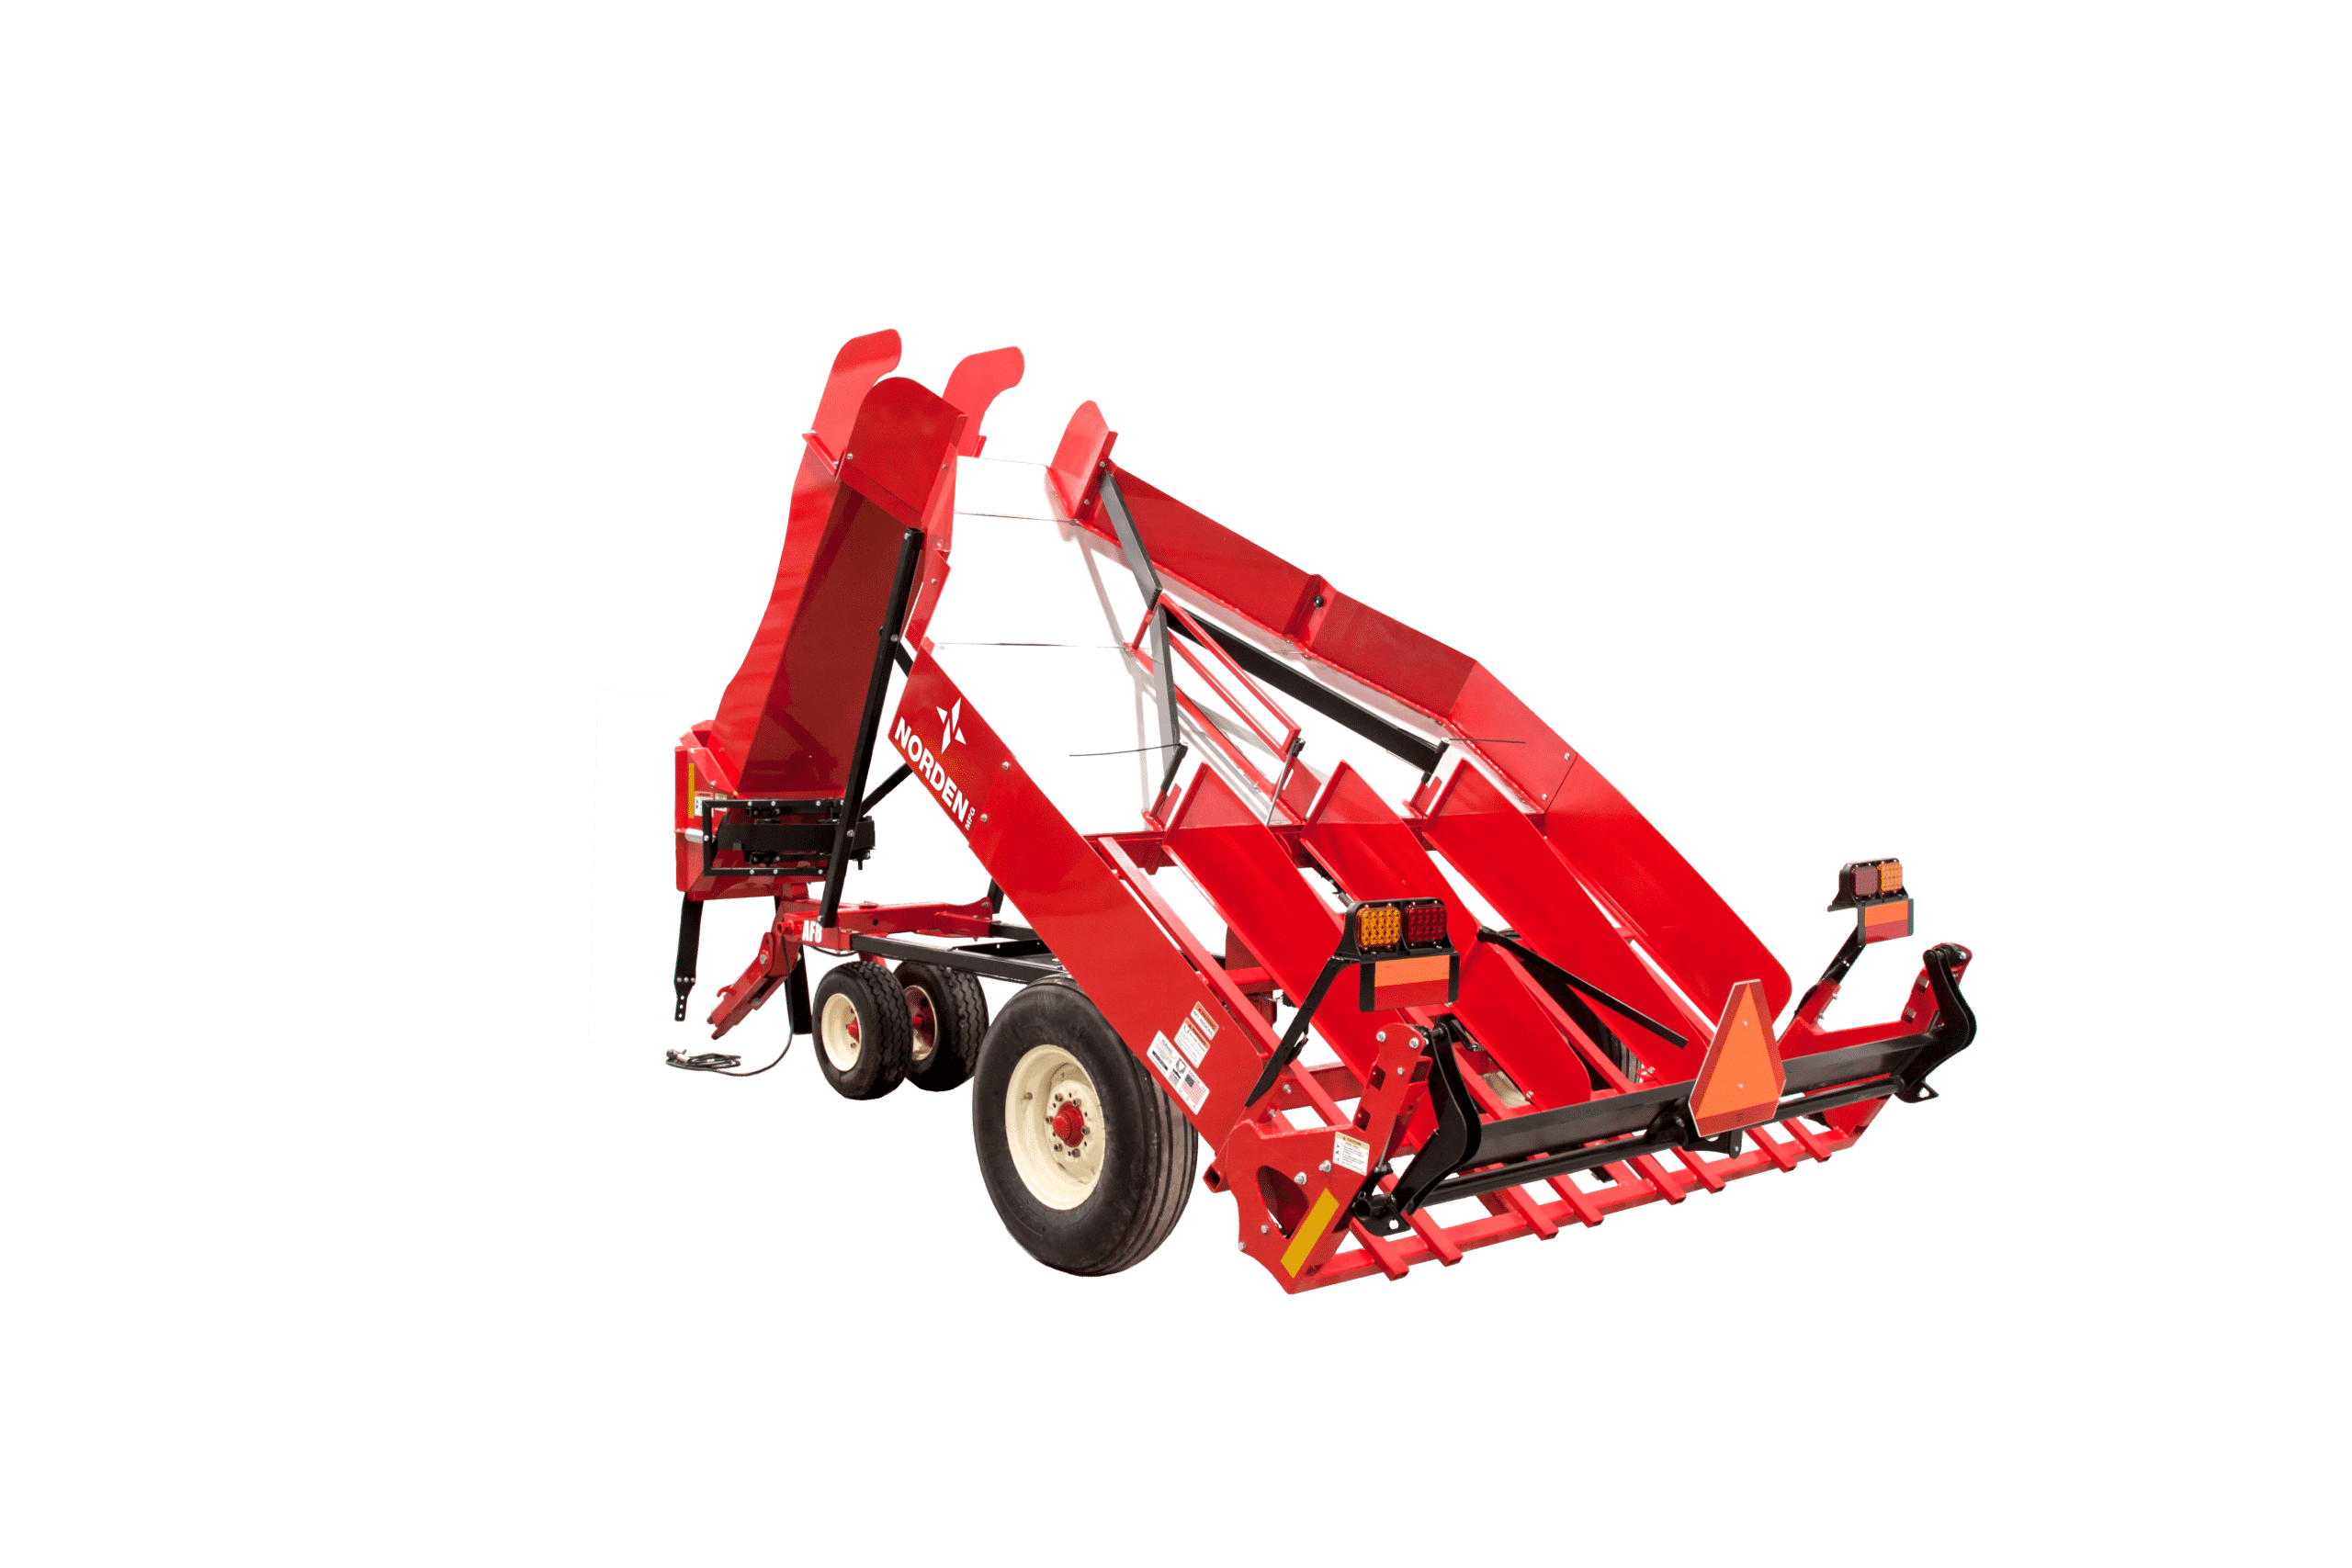
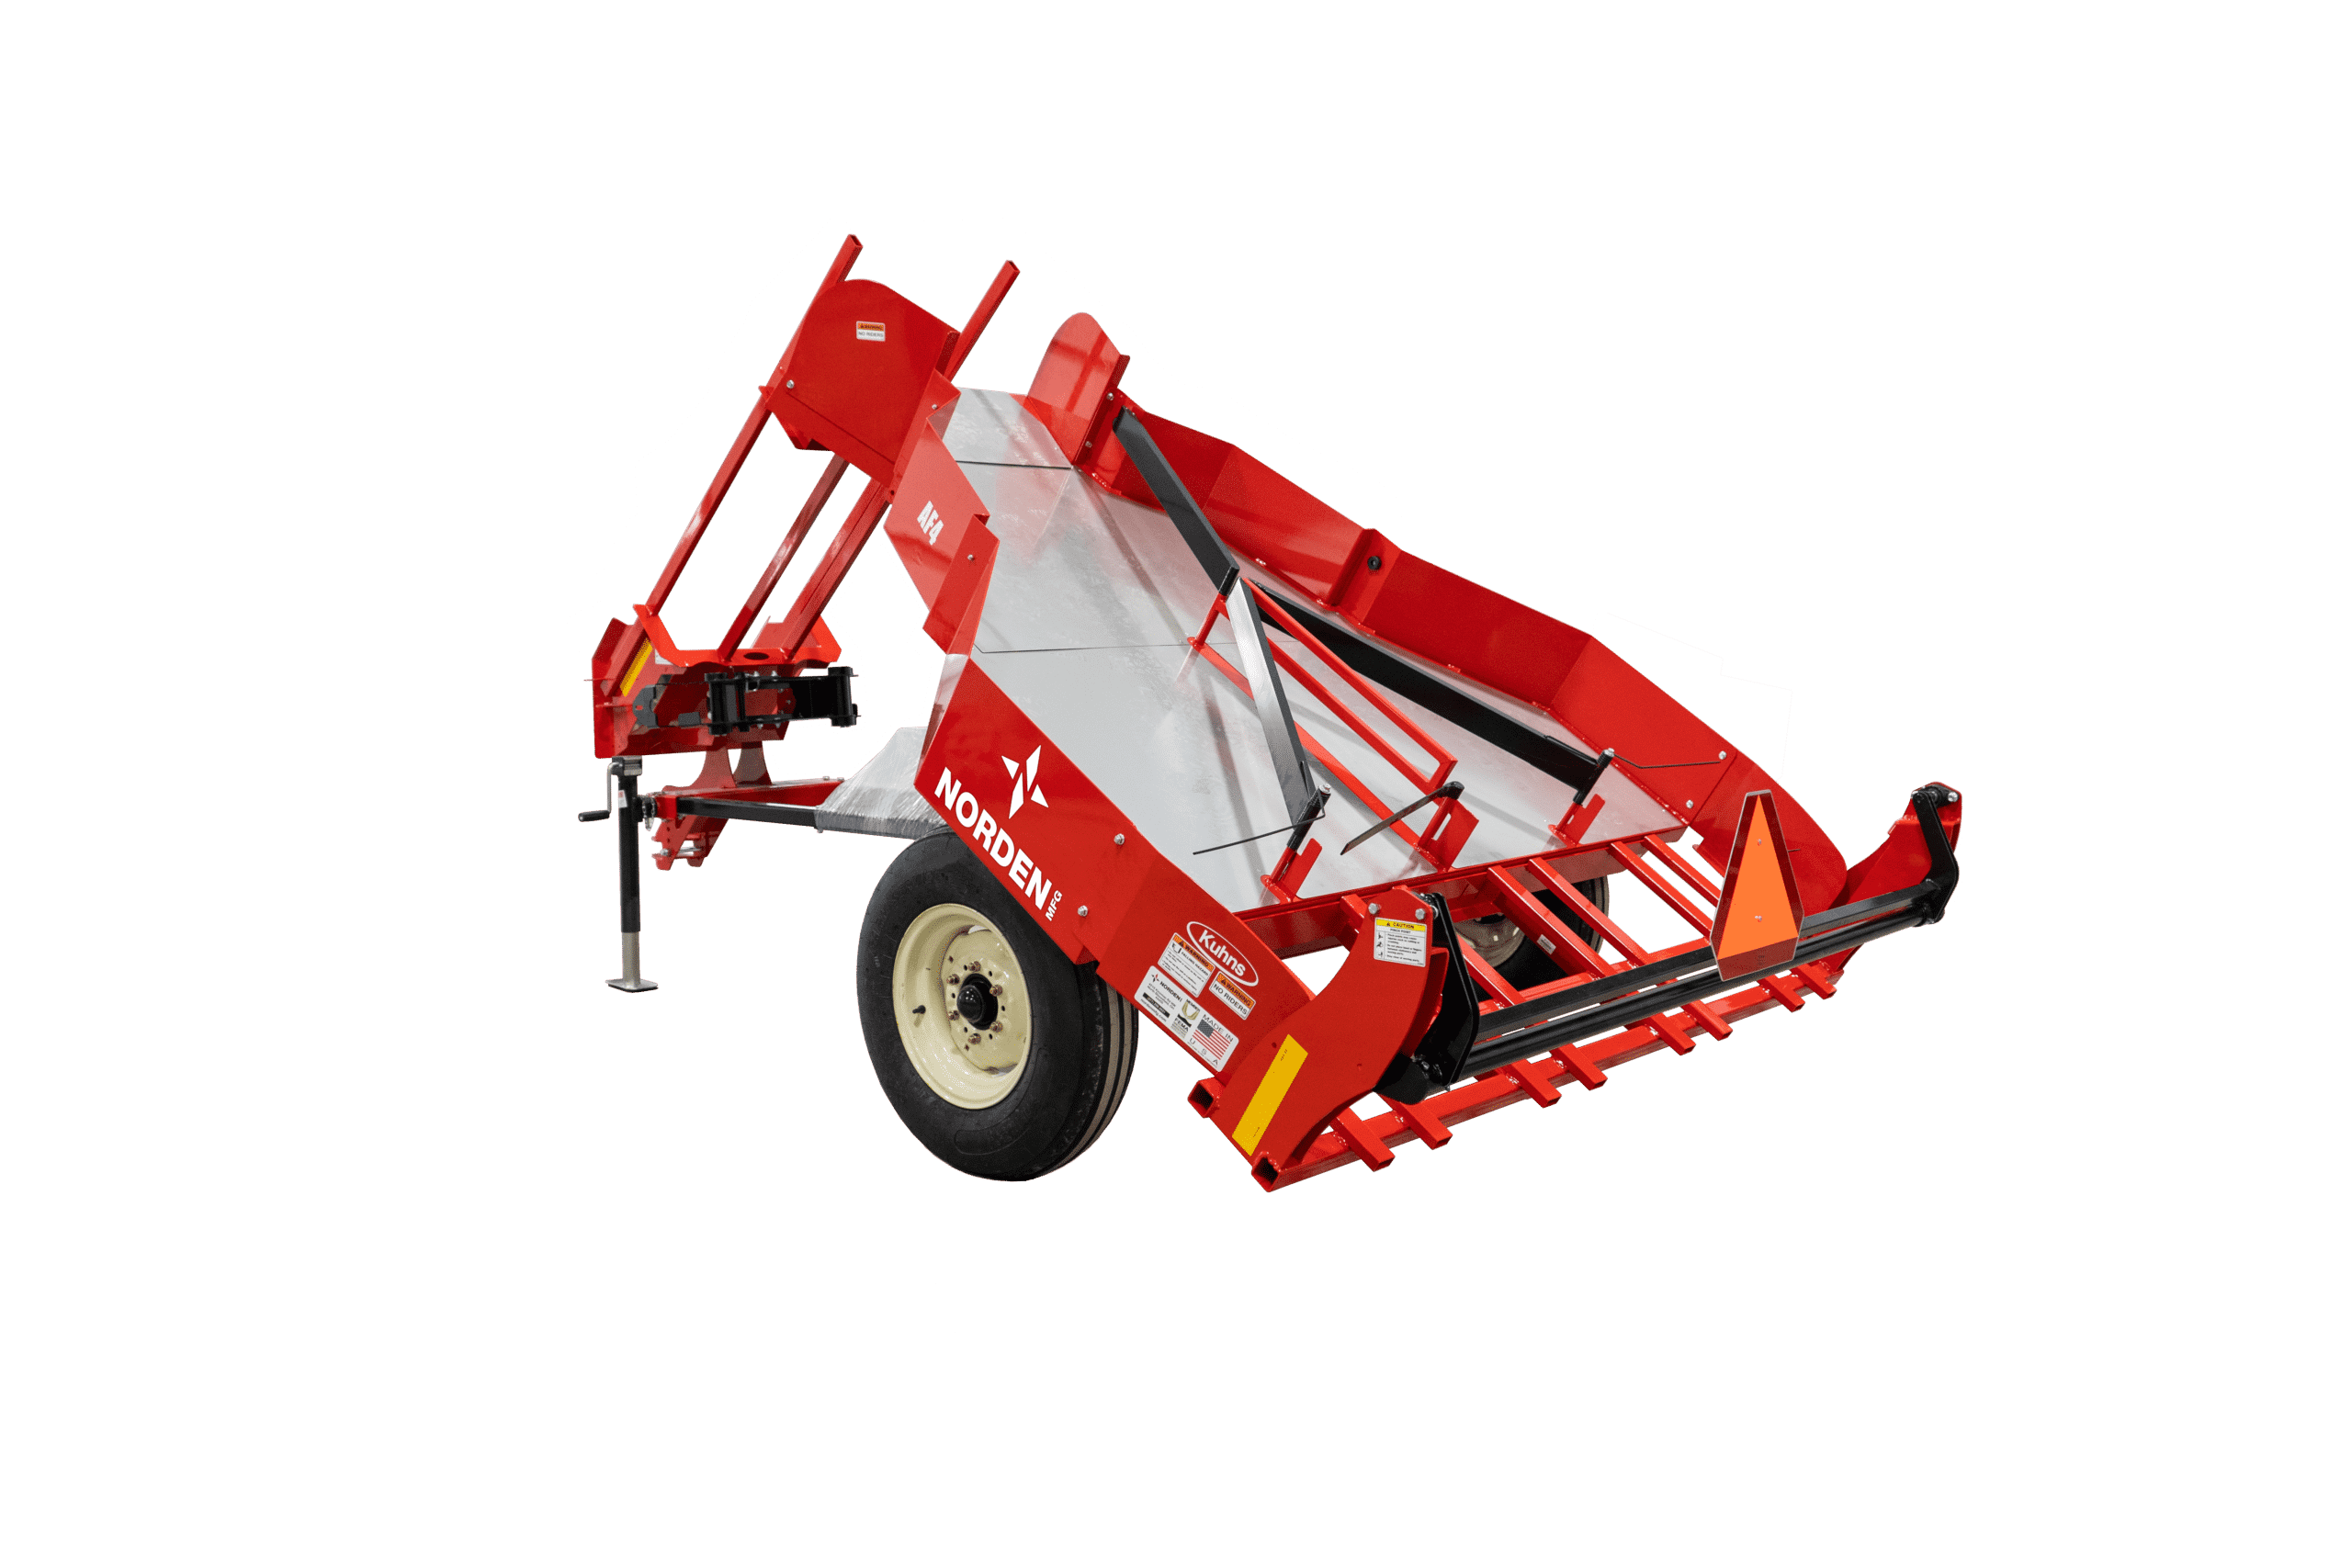
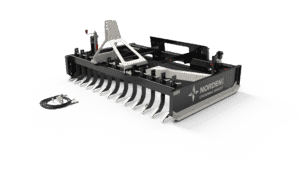
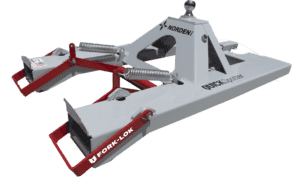
How to Thread Twine through the Norden MFG Tie-Grabber
About This Video
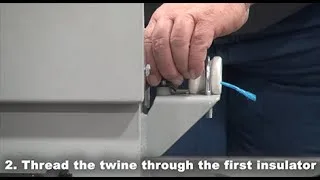
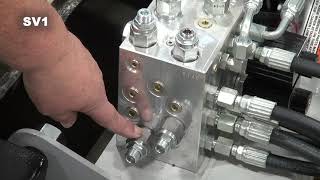
In this video we show you step by step, how to thread twine through your Norden MFG Tie Grabber. 1. Press and hold the lever/control for the “Twine Arm Forward” circuit to rotate the twine arm, to the position shown, approximately three feet from the knotter. 2. Stop the machine. 3. Place the twine spool in the box on top of the unit. 4. Thread the twine through the tension bars and through the first twine eyelet. 5. Thread the twine through the two eyelets on the twine arm. 6. Thread the twine through the needle assembly. 7. Tie the end of the twine to one of the frame members. 8. NOTE: Tying the end of the twine too close to the knotter assembly may cause it to thread the twine incorrectly. 9. Make sure everyone is standing clear of the unit particularly the twine arm. Start the machine. 10. Press and hold the lever/control for the “Twine Arm Forward” circuit to extend the needle into the knotter. Continue to hold the lever/control until the knotter indicator comes to a stop. 11. Press and hold the lever/control for the “Twine Arm Return” circuit to return the twine arm to its retracted position. 12. Stop the machine. 13. In this step remove the short piece of twine that was tied to the frame member in step. 14. The unit should now be correctly threaded and ready for operation.
(877) 296-5851
[email protected]


